

Stand Out tier list: S to C
These are our launch-week recommendations based on the developer’s documented movesets, reviewed November 15. They are editorial judgments, not measured win rates or an official ranking. Within each tier, names are not ordered by strength.
38 Stands and forms · select a portrait for the reason
No matching Stands. Try a shorter name or select All tiers.
 King Crimson (Full)
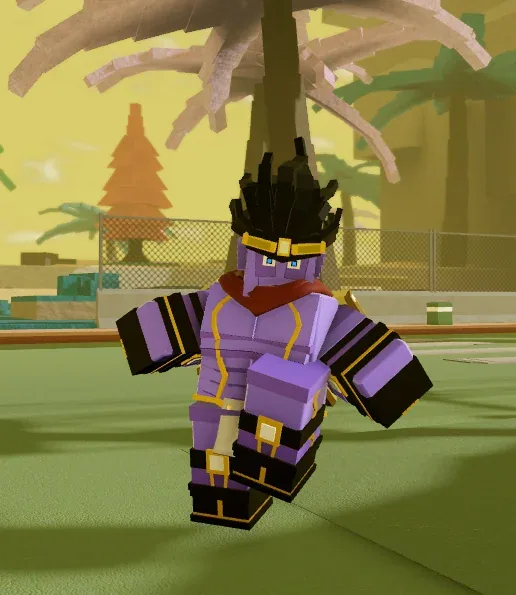 Star Platinum
 The World
 The World: Alternative Universe
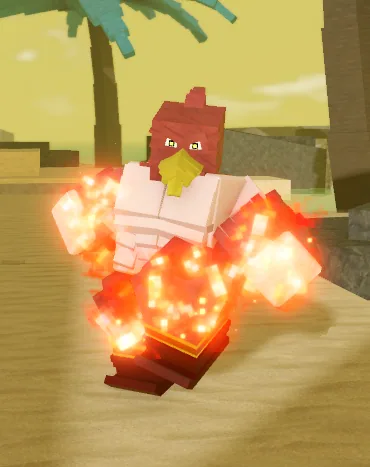 Magician's Red
 Silver Chariot
 Kraft Work
 Highway Star
 Heaven's Door
 Mandom
 Beyond the Sea
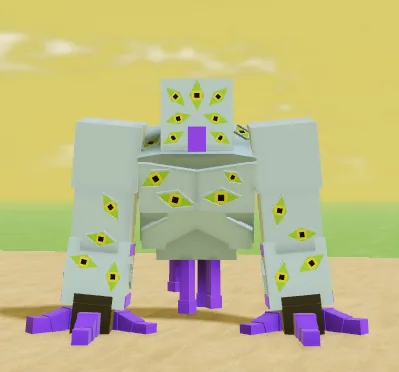 The Grateful DeadAttrition
 200 BalloonsControl
 King Crimson (Doppio Moveset)Progression
 EmperorRanged
 Glory DaysRanged setup
 Death 13Sleep setup
 Catch The RainbowWeather specialist
 Yellow TemperanceDefense & disguise
 Notorious B.I.GSpecialist
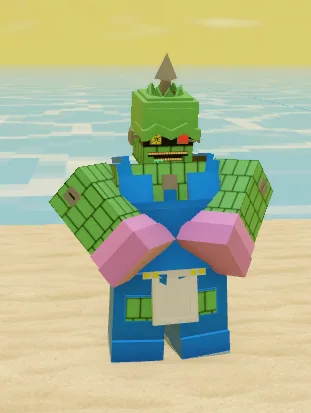 Yo-Yo MaAutomatic pursuit
 Under WorldTerrain setup
 Walking HeartMelee reach
 Smoke On The WaterHeat setup
 The SunArea pressure
 Tubular BellsObject setup
 Smooth OperatorsTeam utility
 Beach BoyHook control
 HarvestFarming & travel
 Hermit PurpleHamon & travel
 Hey Ya!
 Mr. President
 Burning Down The House
 Cinderella
 Strength
 Super Fly
 Rolling Stones
S: our first combat keeps. A: strong kits with a clear plan. B: specialists worth learning or storing. C: picks for a specific role. A lower combat tier does not mean you should discard a useful support Stand.
Best Stands for PvP, PvE and farming
| Your goal | Our picks | Why keep them |
|---|---|---|
| PvP and duels | Star Platinum: The World, King Crimson (Full), Star Platinum, The World | Time control, defensive tools and ways to turn an opening into close-range pressure. |
| Story and PvE raids | Magician's Red, Silver Chariot | Choose ranged fire setup or direct rapier combat. Learn one reliable opener before chasing a rarer roll. |
| Collection and travel | Harvest, Hermit Purple | Collection, mobility and tracking can save more time between objectives than a higher combat grade. |
| Projectile control | Kraft Work | A rewarding specialist if you enjoy freezing objects and preparing a counterattack. |
| Team support | Smooth Operators | Injury transfer offers a reason to keep it alongside your main fighting Stand. |
Why each Stand is ranked here
Use the role and drawback to decide whether a Stand fits you. Open its name for the wiki guide or the developer’s full moveset.
SStar Platinum: The World
Time control · Variant
Ora Blitz, projectile parries and a short Panic Time Stop give it several answers to pressure. Learn the EX costs before committing to the longer stop.
SKing Crimson (Full)
Counterplay · Pinnacle
Epitaph and Time Erase reward reading an opponent. Decree punishes their back, but a miss leaves recovery time. Reach the full form through Doppio first.
SStar Platinum
Melee · Pinnacle
Star Finger adds reach to a close-range kit, while Platinum Parry and Time Stop offer defensive options. A strong keep if you enjoy direct fights.
SThe World
Melee · Pinnacle
Knife Throw gives you a ranged option before closing with Hole Puncher. Time Stop is valuable, but another time-stop user can contest it.
SThe World: Alternative Universe
Ranged pressure · Variant
Deadly Shot adds a ranged hit-confirm to the Time Stop kit. Weigh the Opal Roka loss risk before trying to swap a World you already enjoy.
AMagician's Red
PvE & raids · Legendary
Life Detector helps Crossfire Hurricane track marked enemies. Our first recommendation for story fights if you prefer setting up ranged fire pressure.
ASilver Chariot
Melee · Mythic
Rapier Rush makes the combat plan easy to understand. Blade Eject creates a vulnerable interval until the rapier returns or you retrieve it.
AKraft Work
Projectile control · Epic
Freeze, charge and redirect objects to control an approach. Its ceiling is high, but managing marks and frozen objects makes it a practice-heavy pick.
AHighway Star
Pursuit & sustain · Rare
Scent tracking and Nutrient Siphon support a chase. Keep nutrients up: low reserves penalize speed and damage taken, and water can remove scent.
AHeaven's Door
Control · Mythic
Book Transmutation opens the way to commands and Page Rip. Powerful when the opening lands; less forgiving when an opponent avoids it.
AMandom
Duels · Mythic
Rewind lets you revisit an exchange with restored position and health. Watch Set demands careful timing because nearby targets rewind too.
ABeyond the Sea
Area control · Epic
Maelstrom and Riptide can move enemies into unfavorable positions. Plan the current route before spending a long cooldown.
BThe Grateful Dead
Attrition · Legendary
Aging weakens movement and attacks, but its mist affects allies too. Keep it away from teammates; PvE mobs do not die from the stack cap.
B200 Balloons
Control · Epic
Inflation tools and Relentless Counter give it a distinctive defensive plan. The execute needs a weakened target, so it cannot replace a reliable opener.
BKing Crimson (Doppio Moveset)
Progression · Pinnacle
A developing kit that gains tools as Frog Phone stages advance. Keep it for full King Crimson instead of judging the roll only by its starting moves.
BEmperor
Ranged · Rare
Emperor Shot and Fan The Hammer suit a player who wants a gun kit. Landing shots and protecting your spacing matter more than its Rare label.
BGlory Days
Ranged setup · Legendary
Glory and Elevator Trap let you prepare firing angles. Manage the magazine so a reload does not interrupt the opening you created.
BDeath 13
Sleep setup · Mythic
Build Drowsiness before committing to the dream sequence. Its control needs repeated contact; targets can escape the plan if stacks decay.
BCatch The Rainbow
Weather specialist · Legendary
Rain movement and projectile tools create unusual angles. Check the weather and learn the rain controls before relying on it as an everyday pick.
BYellow Temperance
Defense & disguise · Epic
Living Armor and Assimilation offer a different route from barrage combat. Learn when to defend, spread slime and reveal your disguise.
BNotorious B.I.G
Specialist · Legendary
Its death, grudge and consumption mechanics need a dedicated game plan. Read the full form rules before taking it into an important fight.
BYo-Yo Ma
Automatic pursuit · Mythic
Automatic following and corrosive saliva create pressure while you reposition. Protect your own body when piloting: an attack on you can interrupt the plan.
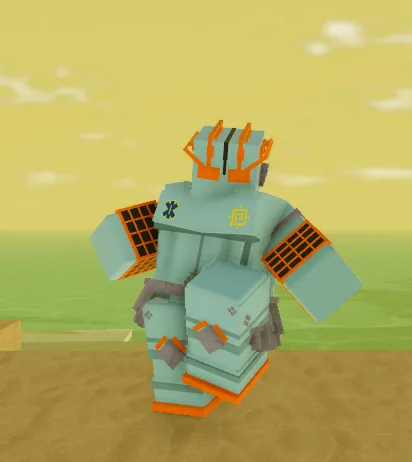
BUnder World
Terrain setup · Mythic
Burrow and memory-based attacks reward preparing the battlefield. Choose a position that gives you time to set the sequence up.
BWalking Heart
Melee reach · Epic
Spike Extension and Ground Impale support a reach-based melee plan. Practice the difference between a quick attack and a charged commitment.
BSmoke On The Water
Heat setup · Legendary
Bring to a Boil and steam tools need heat management. The setup is more involved than picking a Stand with an immediate ranged opener.
BThe Sun
Area pressure · Legendary
Heat and solar attacks suit fights where you can hold useful space. Learn where to position the Stand before trying to control a crowded area.
BTubular Bells
Object setup · Epic
Different objects become different balloon animals. Knowing nearby objects and when to send or pop a balloon is part of the kit.
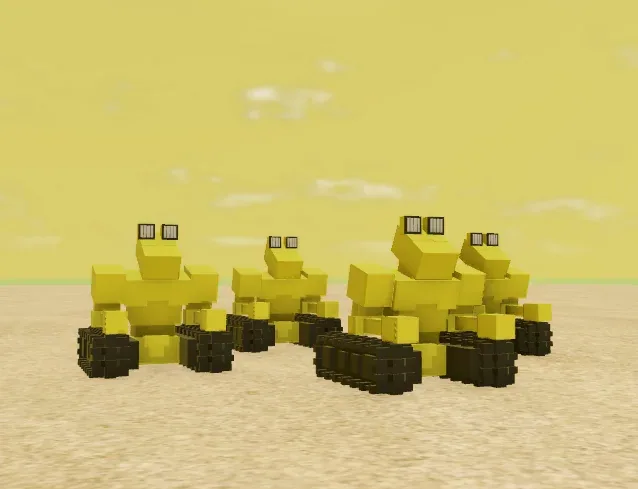
BSmooth Operators
Team utility · Legendary
Injury Shift and Rearrange offer useful control and support. Make room for an uninterrupted transfer rather than using it while under pressure.
BBeach Boy
Hook control · Rare
Hook depth, pulls and reel timing reward patient spacing. Keep it if you enjoy controlling distance instead of trading close-range barrages.
BHarvest
Farming & travel · Epic
Search Party and Colony Carry make it worth keeping for collection and travel. Its utility is more valuable than its general combat placement suggests.
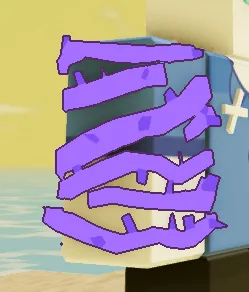
BHermit Purple
Hamon & travel · Quest
Swinging, pulls and Spirit Photography offer useful travel and tracking. It has a quest unlock and should not be a target for repeated Arrow rolls.
CHey Ya!
Luck setup · Epic
Luck stacks and environmental objects ask for preparation. Keep it for its playstyle, but a direct attack kit is an easier first combat project.
CMr. President
Team shelter · Rare
The room and shell tools provide utility that a damage ranking misses. Choose it for that job rather than expecting a conventional dueling kit.
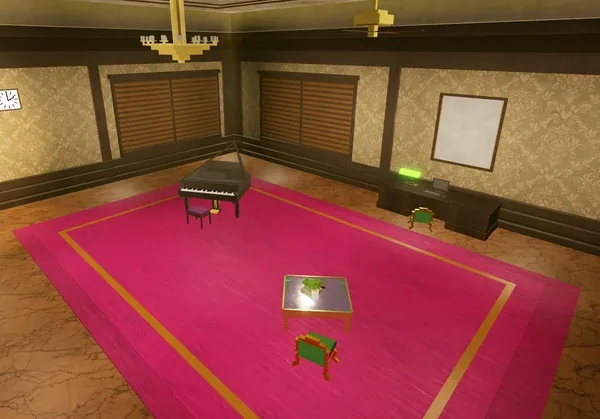
CBurning Down The House
Utility · Epic
Ghost Room, storage and refreshments give it a support identity. A situational keep when those tools are more useful than direct combat pressure.
CCinderella
Support · Rare
Face and body changes are its reason to exist. Store it if you want those services; it is not our first pick for learning ordinary fights.
CStrength
Vehicle specialist · Legendary
Its ship, hook and hull interactions suit a specific style of play. Learn the environment requirements before using it as your main combat option.
CSuper Fly
Area specialist · Epic
Prisoner Boundary and damage redirection depend on how the fight develops around the tower. Open-map combat is less straightforward.
CRolling Stones
Automatic specialist · Mythic
The stone chooses its own target and cannot be recalled. That lack of control makes it a poor fit for choosing a particular quest enemy or duel.
How to get the best Stands
A strong tier placement does not change the Arrow pool. Pick the route for the exact Stand you want.
| Target | Route | Before you spend |
|---|---|---|
| Star Platinum / The World | Part 3 Mysterious Arrow | The developer card lists a 5% chance for each of these named Stands. |
| King Crimson | Part 5 Mysterious Arrow or Train Raid | The Part 5 card lists King Crimson at 5%. Its full moveset requires the Frog Phone progression. |
| SPTW / TWAU | Opal Roka on the matching base Stand | The card lists a 10% swap chance and a 10% chance to lose your Stand. Otherwise it stays unchanged. |
| Kraft Work / Harvest | An Arrow pool that includes Epic | Lucky includes Epic; Bizarre excludes it. Do not craft Bizarre to chase these two. |
| Hermit Purple | Bill’s quest | Requires Hamon and no equipped Stand. This is a quest route, not a normal Arrow target. |
Combat tiers versus rarity
Pinnacle, Mythic, Legendary, Epic and Rare describe acquisition pools. S, A, B and C above are our combat recommendations. Highway Star is Rare in the developer board but earns an A here for its pursuit and sustain; Mythic Rolling Stones sits in C because you cannot freely choose its target.
Our comparison favors a usable opening attack, defensive options, control and the amount of setup a kit requires. Specialist value is called out separately. The developer FAQ also says no single Stand is best at everything.
The list covers the 38 Stand and form entries in this wiki’s current developer-board roster. Doppio and full King Crimson share one Stand, but have different kits. SPTW and TWAU are variants. New additions and reworks outside that roster do not receive a speculative grade here; see the Stand index and update guide for further reading.
Common questions
What is the best Stand in Stand Out?
Our first combat picks are Star Platinum: The World, full King Crimson, Star Platinum, The World and The World: Alternative Universe. Magician’s Red is our story and raid recommendation. The best choice still depends on the matchup and how well you use the kit.
Is Kraft Work good even though it is Epic?
Yes. We place it in A for projectile control and setup potential. It takes more practice than a direct melee kit, and its Epic rarity does not make it weak.
Should I reroll Harvest?
Keep or store it if you use Search Party and Colony Carry for collection and travel. Its B combat grade does not measure the time those utility skills can save.
Why are King Crimson and Doppio in different tiers?
They are stages of the same Stand. Doppio builds through Frog Phone calls before gaining the full King Crimson kit, so their immediate fighting options differ.
Is this an official Stand Out tier list?
No. These are this wiki’s editorial recommendations from documented kits, not an official ranking or a claim of in-game performance testing. Balance changes and new discoveries can change the placements.